
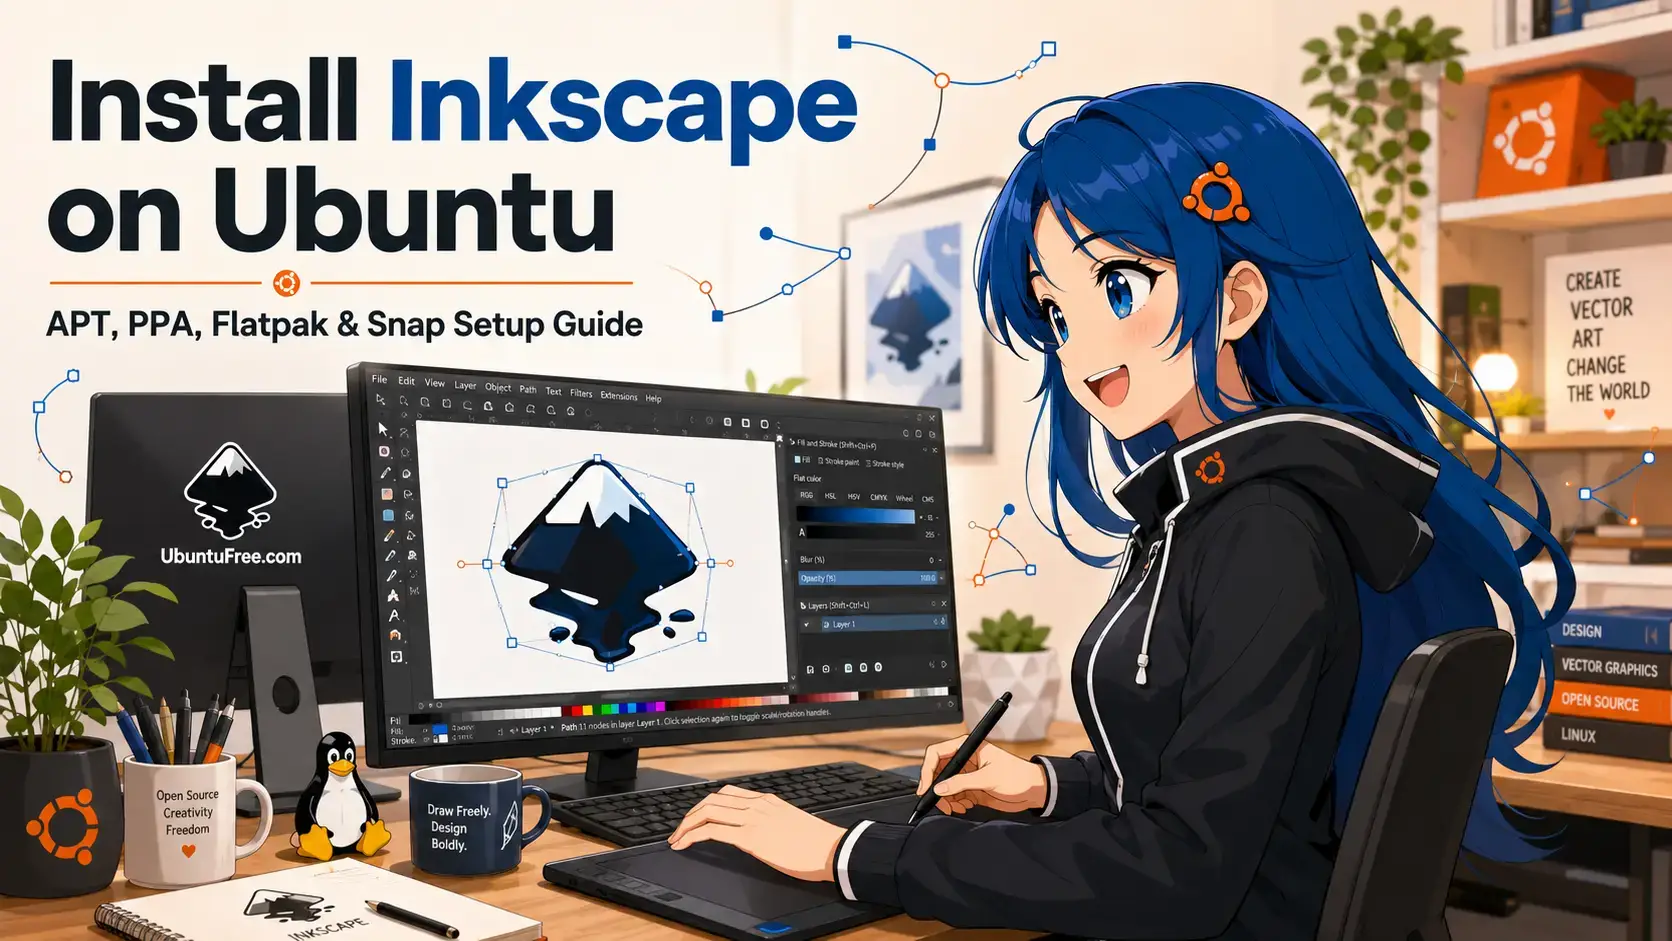
 You can install Inkscape on Ubuntu using the official Stable PPA (Personal Package Archive) for the latest native packages, the stock Universe repository via the APT package manager, the containerized Flatpak package from Flathub, or the verified Snap package from the Snap Store.
Inkscape is a professional, open-source vector graphics editor used by designers, illustrators, and web developers worldwide.
Built using the GTK toolkit, it serves as a powerful, free alternative to Adobe Illustrator. It natively supports scalable vector graphics (SVG) and includes advanced design capabilities such as node editing, path operations, text-on-path elements, and node alignment tools.
This guide provides step-by-step terminal instructions to install and configure Inkscape on Ubuntu 26.04, 24.04, and 22.04 LTS.
We cover native PPA additions, default package managers, Flatpak sandbox filesystem overrides, official Snap packages, desktop file associations, local AI integration workflows, and clean uninstallation.
Let us know in the comments below if you run into any setup issues, or you can contact us directly for support.
APT, PPA, Flatpak, & Snap Setup Walkthroughs
Configure the Inkscape vector graphics editor on your system. Learn how to choose the right package format for your Ubuntu setup, manage directory sandbox permissions, and set up local AI vector workflows.
Choosing the correct installation format affects how Inkscape integrates with system directories, sandbox constraints, and how frequently it receives update releases. Review the comparison grid below to select the option that best fits your requirements.
Inkscape Installation Methods Compared
Review the installation choices below to evaluate release updates, containment levels, filesystem access permissions, and desktop integration capabilities.
| Method | Source Channel | Ubuntu Version Matrix | Sandboxed? | System Integration |
|---|---|---|---|---|
| Official PPA | Inkscape Stable PPA | All releases: v1.4.x or newer (Latest Stable) | No (Native system access) | Full system integration, native theme styling, full access to local directories. Recommended for desktop users. |
| Flatpak (Flathub) | Flathub Container Registry | All releases: v1.4.x or newer (Upstream Stable) | Strict Flatpak isolation | Isolated storage containment. Requires directory overrides for external drives or custom fonts. |
| Snap (Snap Store) | Snapcraft Store (Official Inkscape) | All releases: v1.4.x or newer (Latest Stable) | Strict Snap isolation | Automatic updates, sandboxed filesystem. Good desktop integration, pre-configured access to standard home directories. |
| APT stock | Ubuntu Universe Repository | 26.04: v1.4.x 24.04: v1.3.x 22.04: v1.1.x |
No (Native system access) | Stock Ubuntu packages. Highly stable, but tracks older version series depending on your OS release. |
Method 1: Install Inkscape via the Official Stable PPA
If you prefer native performance alongside the latest stable release features of the Inkscape editor, using the official Stable PPA is the best method. By adding the Inkscape packaging team’s PPA repository to your system sources list, you bypass the stock Ubuntu repository freezes while keeping native package integration. Updates are distributed automatically alongside your standard system software updates via the APT toolchain.
Open a terminal window and add the verified stable repository maintained by the Inkscape developers:
sudo add-apt-repository ppa:inkscape.dev/stable -y
Refresh your local APT package database index to include the packages from the newly added PPA:
sudo apt update
Install the native Inkscape package. APT resolves all the necessary vector engines and libraries automatically:
sudo apt install inkscape -y
Method 2: Install Inkscape via Flatpak (Flathub)
If you prefer to run desktop utilities inside sandboxed runtime environments or use a consistent version across different Linux distributions, Flatpak is a reliable choice. The Flatpak container packages all dependencies and UI layout assets inside a sandboxed wrapper, insulating the system from configuration conflicts. Filesystem access is strictly monitored by the desktop sandbox interface.
If Flatpak is not yet enabled on your machine, install the flatpak package using the default package manager:
sudo apt update && sudo apt install flatpak -y
Add the official Flathub remote registry to fetch verified software builds:
flatpak remote-add --if-not-exists flathub https://dl.flathub.org/repo/flathub.flatpakrepo
Run the flatpak command to pull and configure the latest stable upstream release of Inkscape:
flatpak install flathub org.inkscape.Inkscape -y
By default, sandboxed Flatpaks cannot access directories outside the standard user paths like ~/Downloads. To grant Inkscape read and write access to external storage hard drives or custom folder partitions (for example, a secondary drive mounted at /media/CreativeDrives), run this override command:
flatpak override --user --filesystem=/media/CreativeDrives org.inkscape.Inkscape
Ensure you swap out /media/CreativeDrives with the actual absolute mount path of your drive partition.
Method 3: Install Inkscape via the Snap Store
For users who want a simple, containerized installation package that updates automatically without managing PPA repositories or installing extra Flatpak runtimes, Snap is the default choice. Snap support is built directly into all desktop editions of Ubuntu. The Inkscape Snap package is officially built, verified, and published by the Inkscape developer team, ensuring security and compatibility.
Open a terminal using the keyboard shortcut Ctrl+Alt+T and execute the installation command:
sudo snap install inkscape
Method 4: Install Stock Inkscape via the Stock Ubuntu Repositories
If your priority is stability over having the latest features and you do not want to add external PPAs, you can install the stock version of Inkscape directly from the Ubuntu Universe repository. While stable, please note that the repository package tracks the version freeze matching the launch date of your specific Ubuntu release. For example, Ubuntu 22.04 LTS serves v1.1.x, Ubuntu 24.04 LTS carries v1.3.x, and Ubuntu 26.04 LTS includes v1.4.x. If you require newer features (such as improved shape builder tools or updated multi-page support), use the PPA method instead.
Ensure the Universe archive is enabled, update your local index databases, and install the native application package:
sudo add-apt-repository universe -y && sudo apt update && sudo apt install inkscape -y
How to Launch and Configure Inkscape on Ubuntu
Once the installation process completes, you can run the editor using your desktop graphics environment or by entering startup commands inside a terminal window.
Click the Applications menu button at the corner of your desktop interface panel, type Inkscape in the search bar, and click the application icon to start the graphics workspace interface.
Depending on which packaging format you installed, use the matching terminal execution string:
For native PPA or stock APT packages:
inkscape
For Flatpak container packages:
flatpak run org.inkscape.Inkscape
For Snap Store packages:
snap run inkscape
To configure your desktop manager to open scalable vector graphics (SVG) using Inkscape by default, run this association command in your terminal:
xdg-mime default org.inkscape.Inkscape.desktop image/svg+xml
You can verify the current version of the installed executable by executing:
inkscape --version
Modern Features & AI Graphics Workflows in Inkscape
As an open-source vector editor, Inkscape does not ship with built-in, proprietary generative AI models. However, its modular extensions platform allows users to plug in community-developed generative AI features directly, or utilize hybrid AI-to-vector workflows to speed up asset creation.
Using community extensions like imagegen_ink, you can connect your canvas directly to AI models like Stable Diffusion, DALL-E, or Flux. This allows you to type text prompts and receive images on your canvas without leaving the application.
The ComfyUI-Inkscape plugin links your layout viewport to a local ComfyUI API instance. You can select specific shapes, input a layout guide prompt, and transform your hand-drawn vector mockups into highly detailed AI renderings.
The most popular workflow involves generating raster concept art via Midjourney or Stable Diffusion, importing the PNG/JPG file, and utilizing Inkscape’s built-in **Path > Trace Bitmap** engine to vectorize it into a clean, editable SVG file.
Inkscape uses the Potrace library to analyze pixel edge gradients and draw clean Bézier curves. It features options for brightness cutoff, edge detection, color quantization, and multiple pass renderings for multi-colored vectors.
Interface Screenshots
Explore the layout and user interface of Inkscape running natively on the Ubuntu desktop environment.

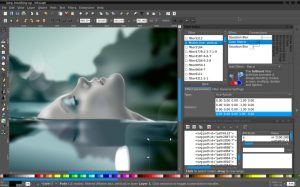
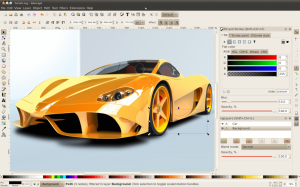
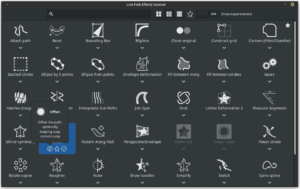
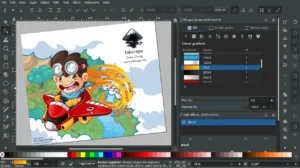
-
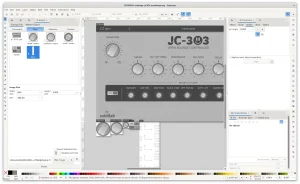
- Custom design svg from How to Install Inkscape on Ubuntu 26.04 – Complete Guide
-
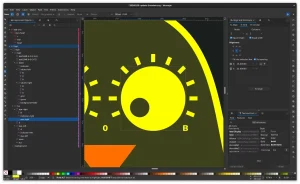
- Custom logo from How to Install Inkscape on Ubuntu 26.04 – Complete Guide
-
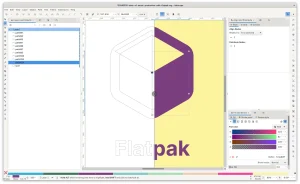
- Flatpak logo in inkscape from How to Install Inkscape on Ubuntu 26.04 – Complete Guide
-
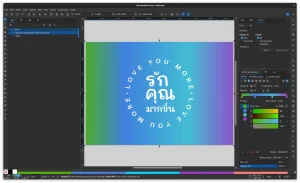
- Custom vector design inkscape from How to Install Inkscape on Ubuntu 26.04 – Complete Guide
-
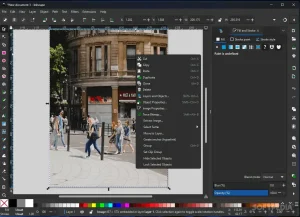
- Inkscape screenshot latest from How to Install Inkscape on Ubuntu 26.04 – Complete Guide
Troubleshooting Common Issues
Review the troubleshooting guides below to resolve common issues encountered when running Inkscape on desktop systems.
This is typically caused by corrupted configuration caches, legacy font cache index records, or broken third-party extensions. To clear the application cache folders and reset settings to their default values, run the following cleanup command:
rm -rf ${XDG_CACHE_HOME:-$HOME/.cache}/inkscape/
Pressure sensitivity on graphics drawing tablets can sometimes fail to register on Ubuntu’s default Wayland session. To fix this, open Inkscape, go to Edit > Input Devices, select your tablet device, change its configuration mode from Disabled to Screen, and click save. If the tablet still fails to register pressure inputs, log out and select the Ubuntu on Xorg session from the password login screen.
How to Completely Uninstall Inkscape and Purge Cache Files
If you need to remove Inkscape, follow the cleanup instructions corresponding to your installation format. These steps purge the system packages, remove repository index configurations, and delete local user caches.
Remove the core executable files matching the software channel you are using:
For PPA or stock APT installations:
sudo apt remove inkscape -y
sudo apt autoremove --purge -y
To remove the PPA repository configurations:
sudo add-apt-repository --remove ppa:inkscape.dev/stable -y
For Flatpak container installations:
flatpak uninstall org.inkscape.Inkscape -y
flatpak uninstall --unused -y
For Snap Store installations:
sudo snap remove inkscape
Package managers keep user configuration files behind to preserve your custom brushes, palettes, and extensions. To completely purge these files from your system, execute the removal commands matching your installation method:
# Clean native APT or PPA configuration files
rm -rf ~/.config/inkscape/ ~/.local/share/inkscape/

# Clean Flatpak application caches
rm -rf ~/.var/app/org.inkscape.Inkscape/

# Clean Snap configuration directories
rm -rf ~/snap/inkscape/
Use the links below to access community forums, source code repositories, and official documentation guides for Inkscape troubleshooting:
Frequently Asked Questions
Is Inkscape available in the default Ubuntu repositories?
Yes, Inkscape is available in Ubuntu’s default Universe repository. You can install it using the native package manager by running: sudo apt update && sudo apt install inkscape -y. However, the default package matches the package freeze at Ubuntu’s release date and may not be the latest version.
How do I install the latest stable version of Inkscape via APT?
To get the latest stable version of Inkscape using the APT package manager, you must add the official Inkscape stable PPA. Run the following commands in your terminal: sudo add-apt-repository ppa:inkscape.dev/stable -y && sudo apt update && sudo apt install inkscape -y.
Why is my Flatpak version of Inkscape unable to access custom fonts or external hard drives?
Because Flatpak applications run inside a sandboxed container, filesystem access is restricted. To grant Inkscape permission to read and write to custom directories, external hard drives, or custom fonts folders, run this override command in your terminal: flatpak override --user --filesystem=/path/to/folder org.inkscape.Inkscape.
Does Inkscape have built-in AI generative design tools?
No, Inkscape does not include native generative AI features. However, you can add AI functionality via third-party extensions like ComfyUI-Inkscape or imagegen_ink, which connect your canvas to generative AI APIs. Alternatively, you can use a hybrid workflow by generating art externally and converting it to vectors using Path > Trace Bitmap.
How do I completely uninstall Inkscape and clear all custom settings?
Uninstall Inkscape using the package manager that handles your installation (APT, PPA, Snap, or Flatpak), and then delete the local settings directories inside your home folder (rm -rf ~/.config/inkscape, rm -rf ~/.var/app/org.inkscape.Inkscape, or rm -rf ~/snap/inkscape).
Related graphics and media editors guides: Best Photo Editors on Ubuntu · Install GIMP on Ubuntu · Install Krita on Ubuntu · Install Blender on Ubuntu · Install Shotcut on Ubuntu