Ready for a modern, elegant, and feature-rich computing experience? The official Ubuntu Budgie 24.04 LTS (Long Term Support) release is here, featuring the sleek and customizable Budgie desktop for a polished and user-friendly workflow.
Codenamed “Noble Numbat,” this version is supported with security updates until April 2029. It’s the perfect choice for users who want a contemporary, macOS-inspired interface with deep customization options and Raven sidebar notifications.
In this guide, you’ll find everything you need to get started with Ubuntu Budgie 24.04, from download links to installation steps. Let’s get started.
How to Download Ubuntu Budgie 24.04 LTS
Your first step is to get the installation files. Choose the best option for you:
- Direct Download (64-bit): Ubuntu Budgie 24.04 LTS ISO
- Torrent Download (64-bit, Recommended): Ubuntu Budgie 24.04 LTS Torrent (Faster and reduces load on servers)
🔍 Explore All Official Ubuntu Flavors
Not sure if Ubuntu Budgie is right for you? Discover the perfect Ubuntu experience for your needs. Our comprehensive guide covers all 10+ official flavors, from beginner-friendly to lightweight powerhouses.
Prefer a Ready-to-Use Bootable USB?
Don’t want to create a USB drive yourself? You can purchase a pre-made, high-quality bootable USB flash drive. This is the easiest way to install Ubuntu Budgie, especially for beginners.
How to Install Ubuntu Budgie 24.04 LTS
Once you have your ISO file or bootable USB, follow this general overview to install Ubuntu Budgie on your computer:
- Create a Bootable USB Drive: If you downloaded the ISO, you need to write it to a USB drive (8GB minimum). Use a tool like Balena Etcher, Rufus (Windows), or Ventoy.
- Boot from the USB Drive: Restart your computer and access your BIOS/UEFI settings (usually by pressing F2, F10, F12, or Del during startup). Change the boot order to prioritize the USB drive.
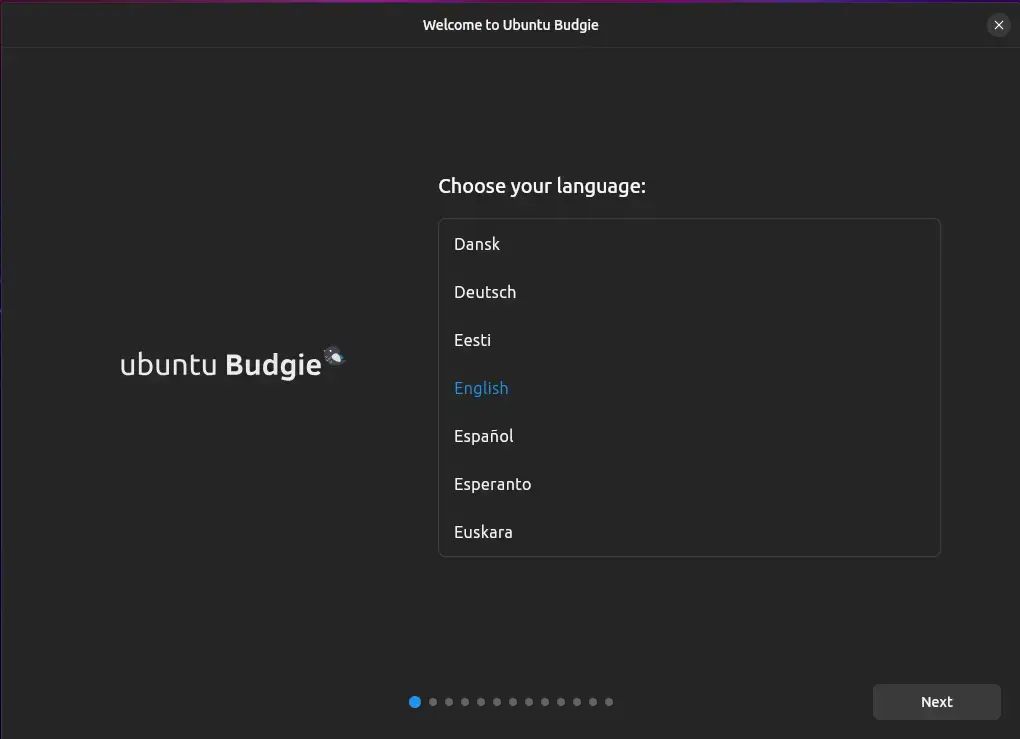
- Try or Install: You will be greeted with the Ubuntu Budgie installer menu. Choose “Try Ubuntu Budgie” to test it without making changes, or “Install Ubuntu Budgie” to proceed directly.
- Follow the Installation Wizard: The installer will guide you through the process:
- Select your language and keyboard layout.
- Connect to a Wi-Fi network.
- Choose your installation type (e.g., erase disk and install, or install alongside another OS).
- Set your time zone and create your user account.
- Complete the Installation: Once the installation is finished, restart your computer and remove the USB drive. You will boot into your new Ubuntu Budgie system!
Watch a Video Installation Guide
If you prefer a visual walkthrough, watch this quick installation guide from YouTube.
What’s New in Ubuntu Budgie 24.04 LTS
Ubuntu Budgie 24.04 LTS brings the latest updates to this elegant desktop environment:
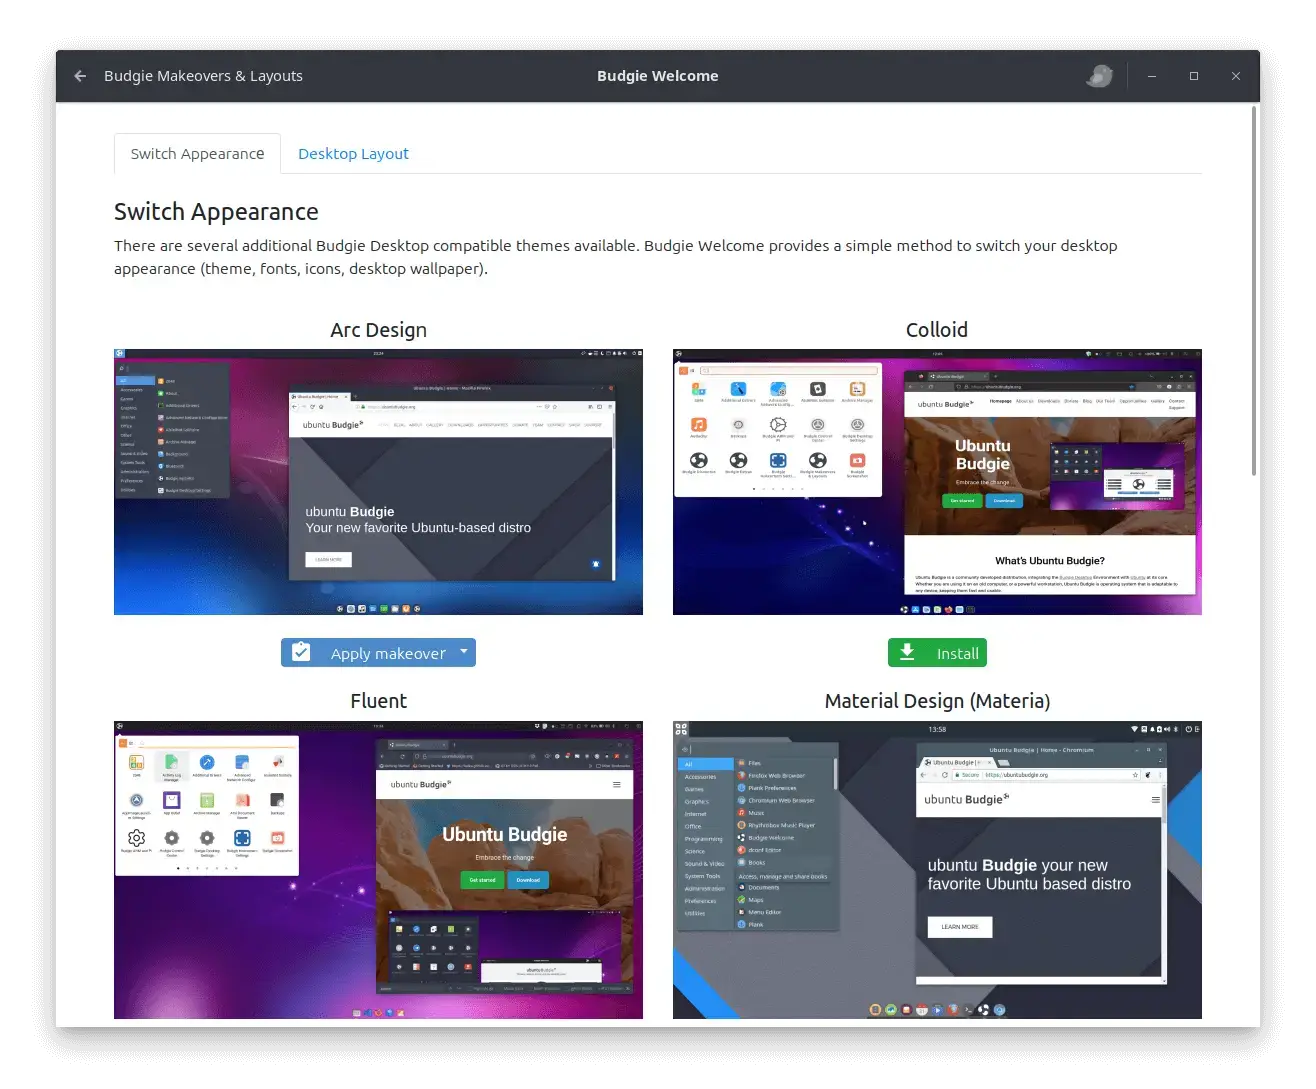
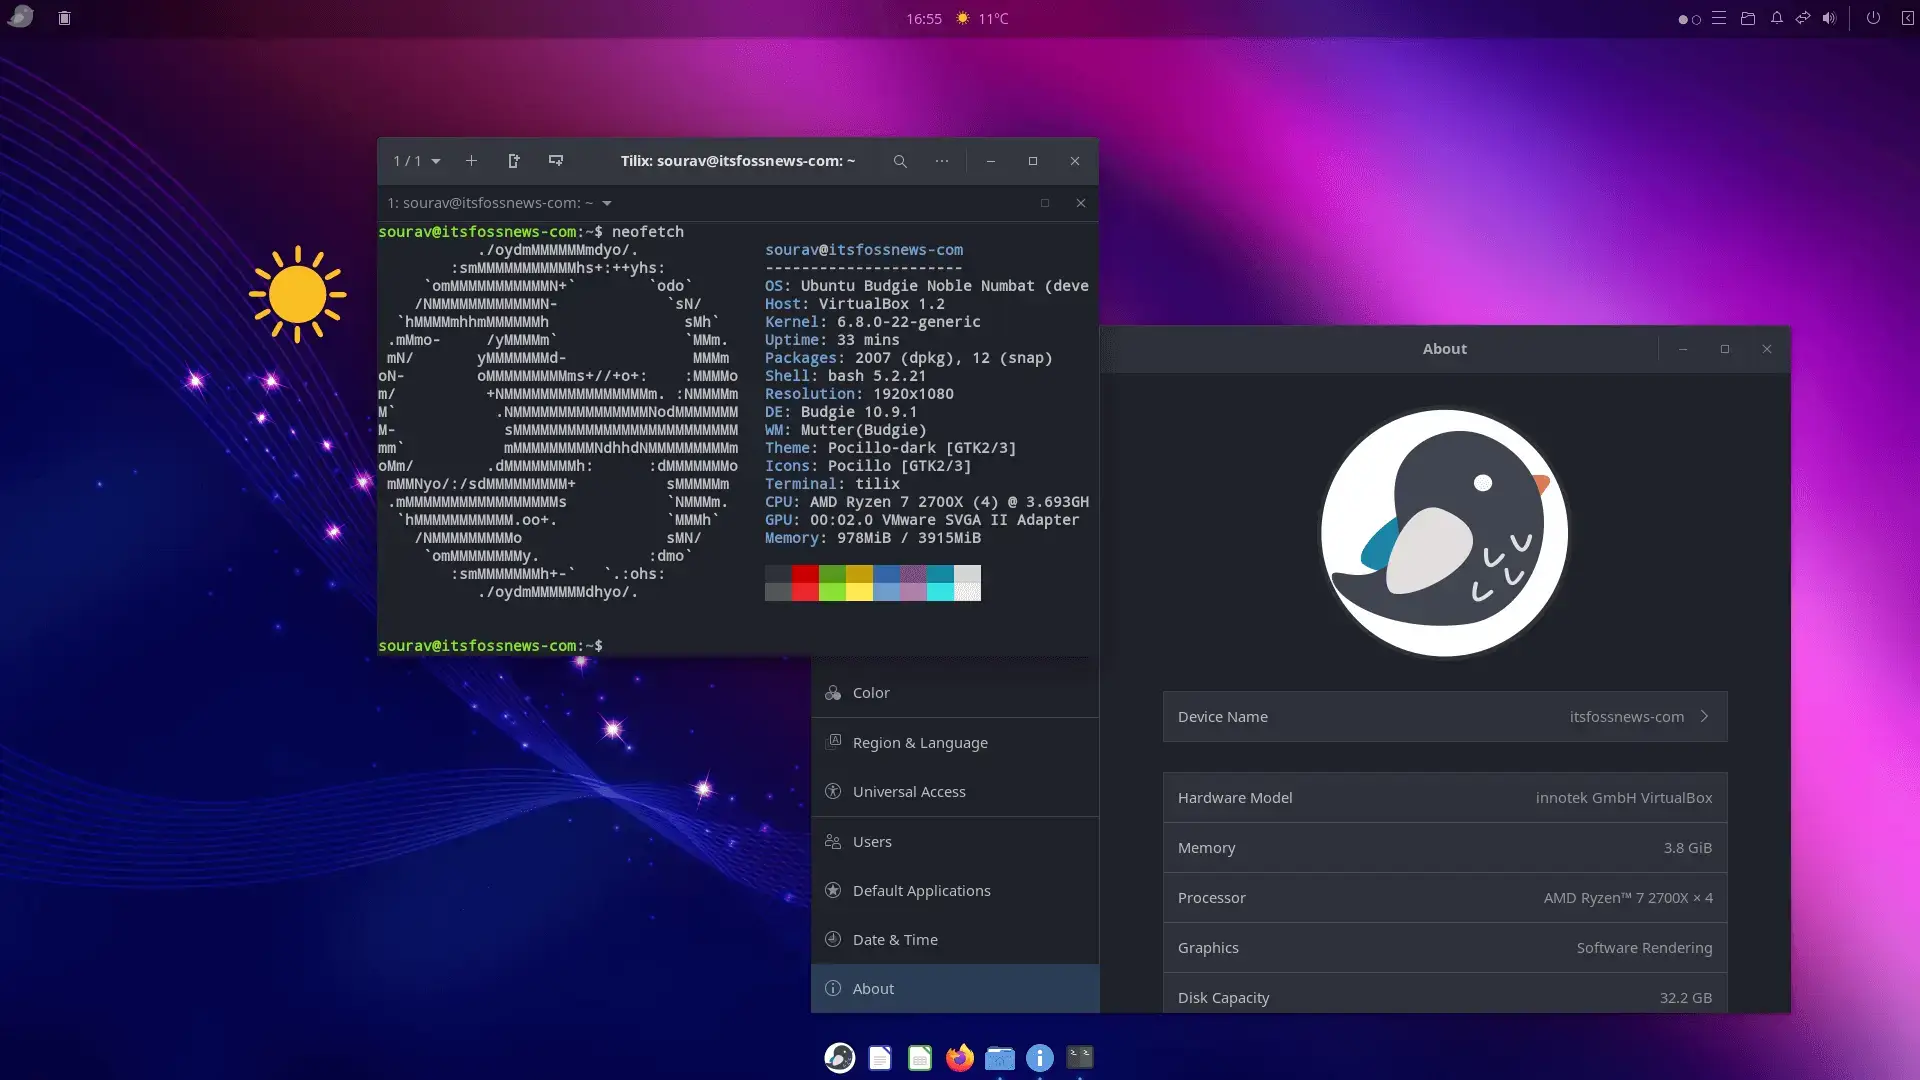
- Budgie Desktop 10.9: The latest version of the modern, feature-rich desktop with improved theming and applets.
- Linux Kernel 6.8: Offers improved hardware support for newer graphics, Wi-Fi, and peripherals.
- Updated Toolchain: Includes Python 3.12, OpenJDK 21, and GCC 13, ideal for developers.
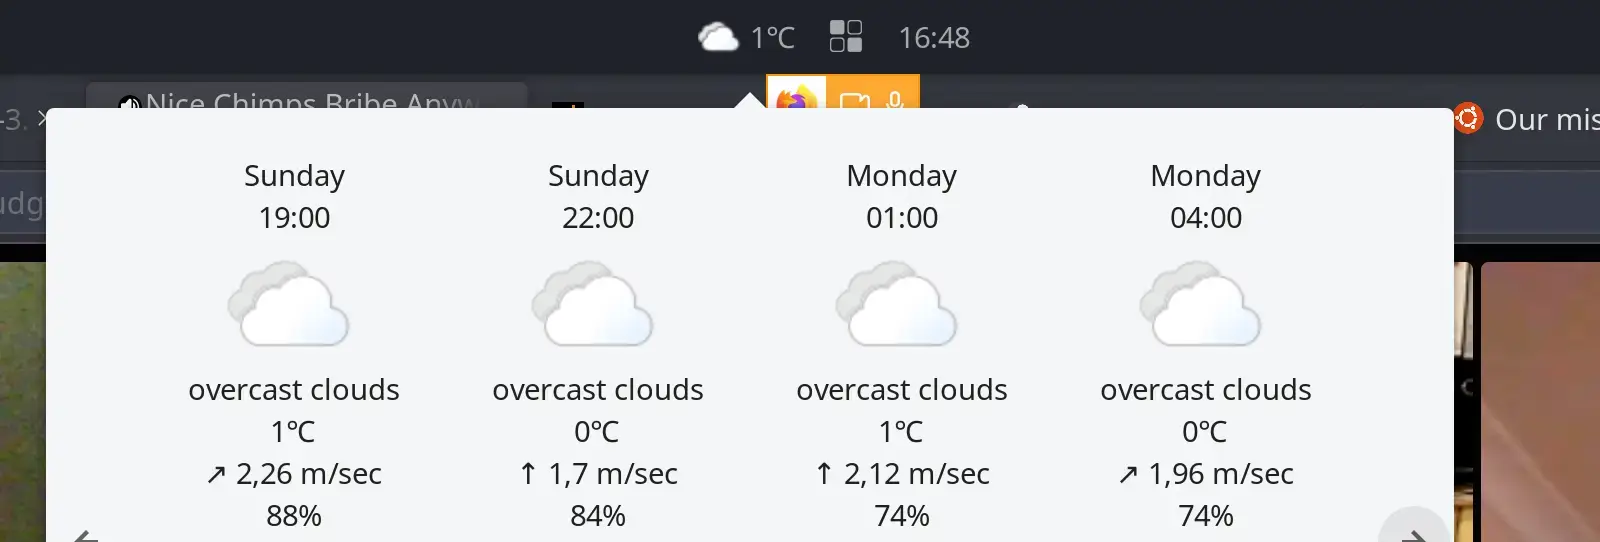
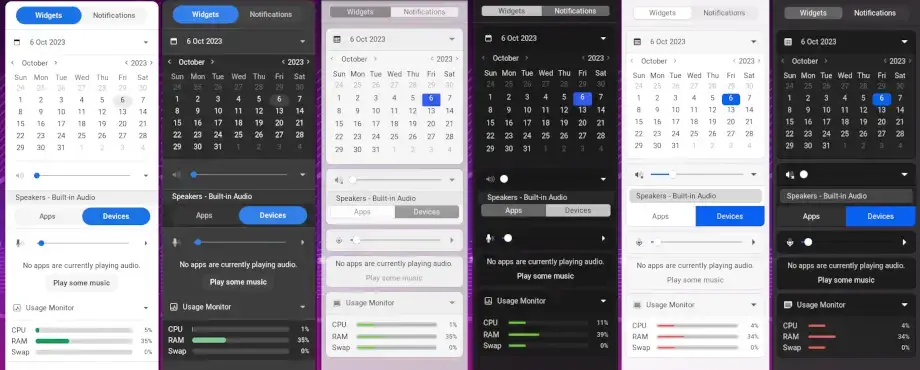
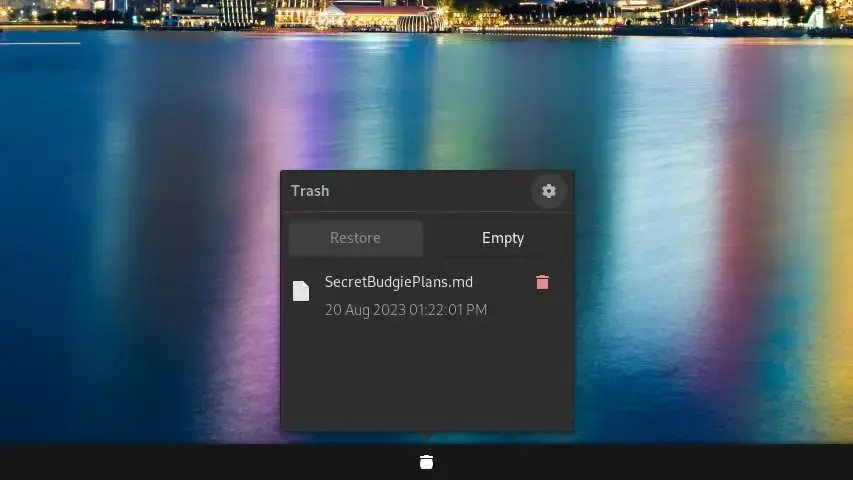
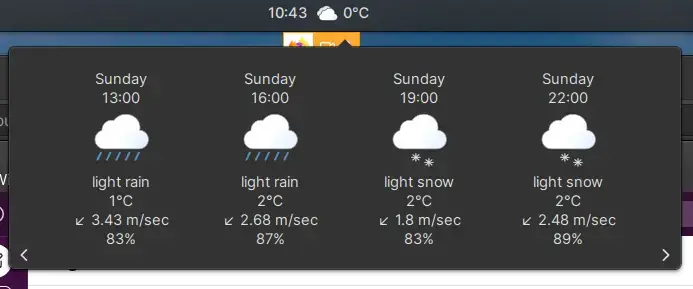
- Enhanced Raven Sidebar: Improved notification center and applets for better customization.
- Inherits Ubuntu Core: Benefits from all the security and performance improvements of Ubuntu 24.04 LTS.
For a detailed technical overview, check the official Ubuntu Budgie 24.04 release notes.
Ubuntu Budgie 24.04 LTS System Requirements
Ubuntu Budgie offers a modern experience with moderate resource needs:
- Minimum: 2 GHz dual-core processor, 4 GiB RAM, 25 GB disk space.
- Recommended: 2.5 GHz dual-core processor, 8 GiB RAM, 40 GB disk space (SSD highly recommended).
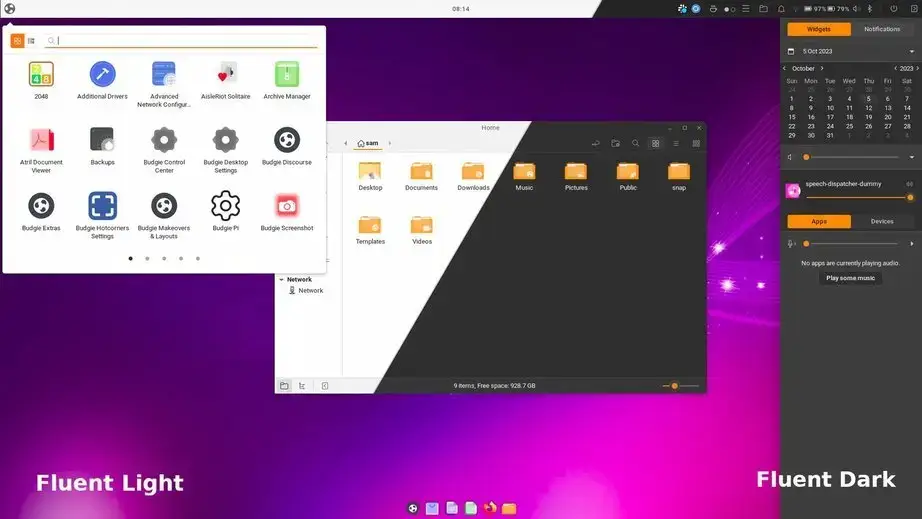
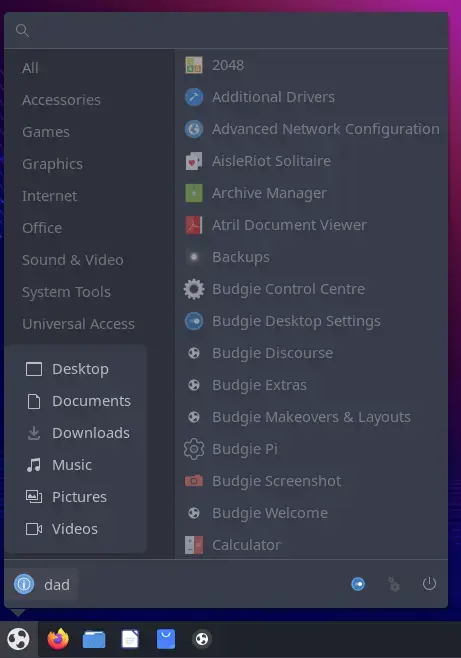
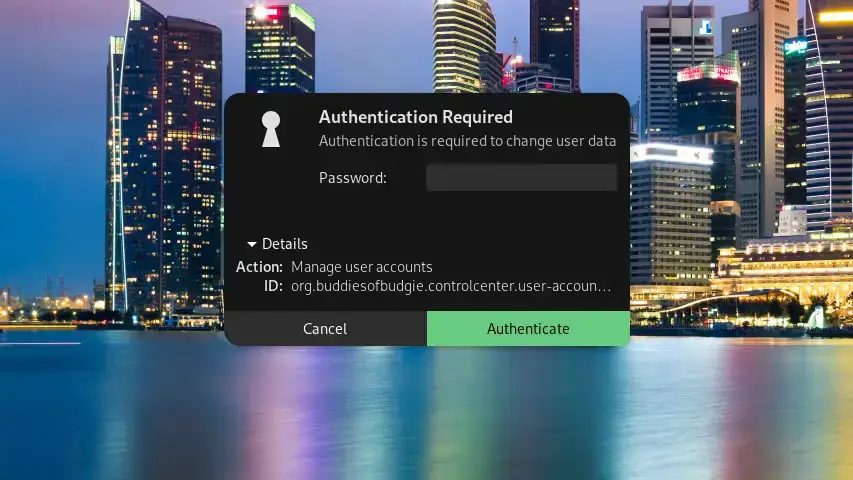
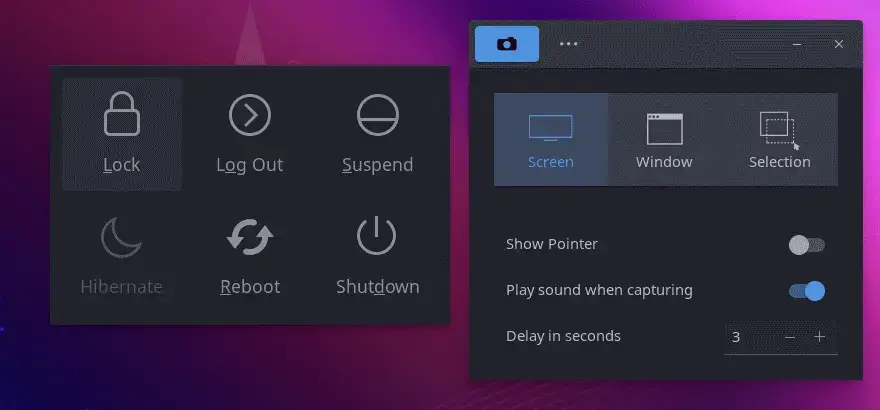
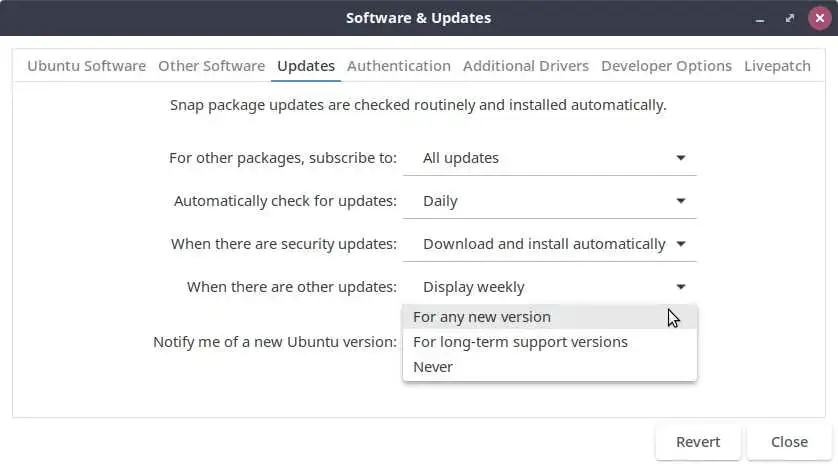
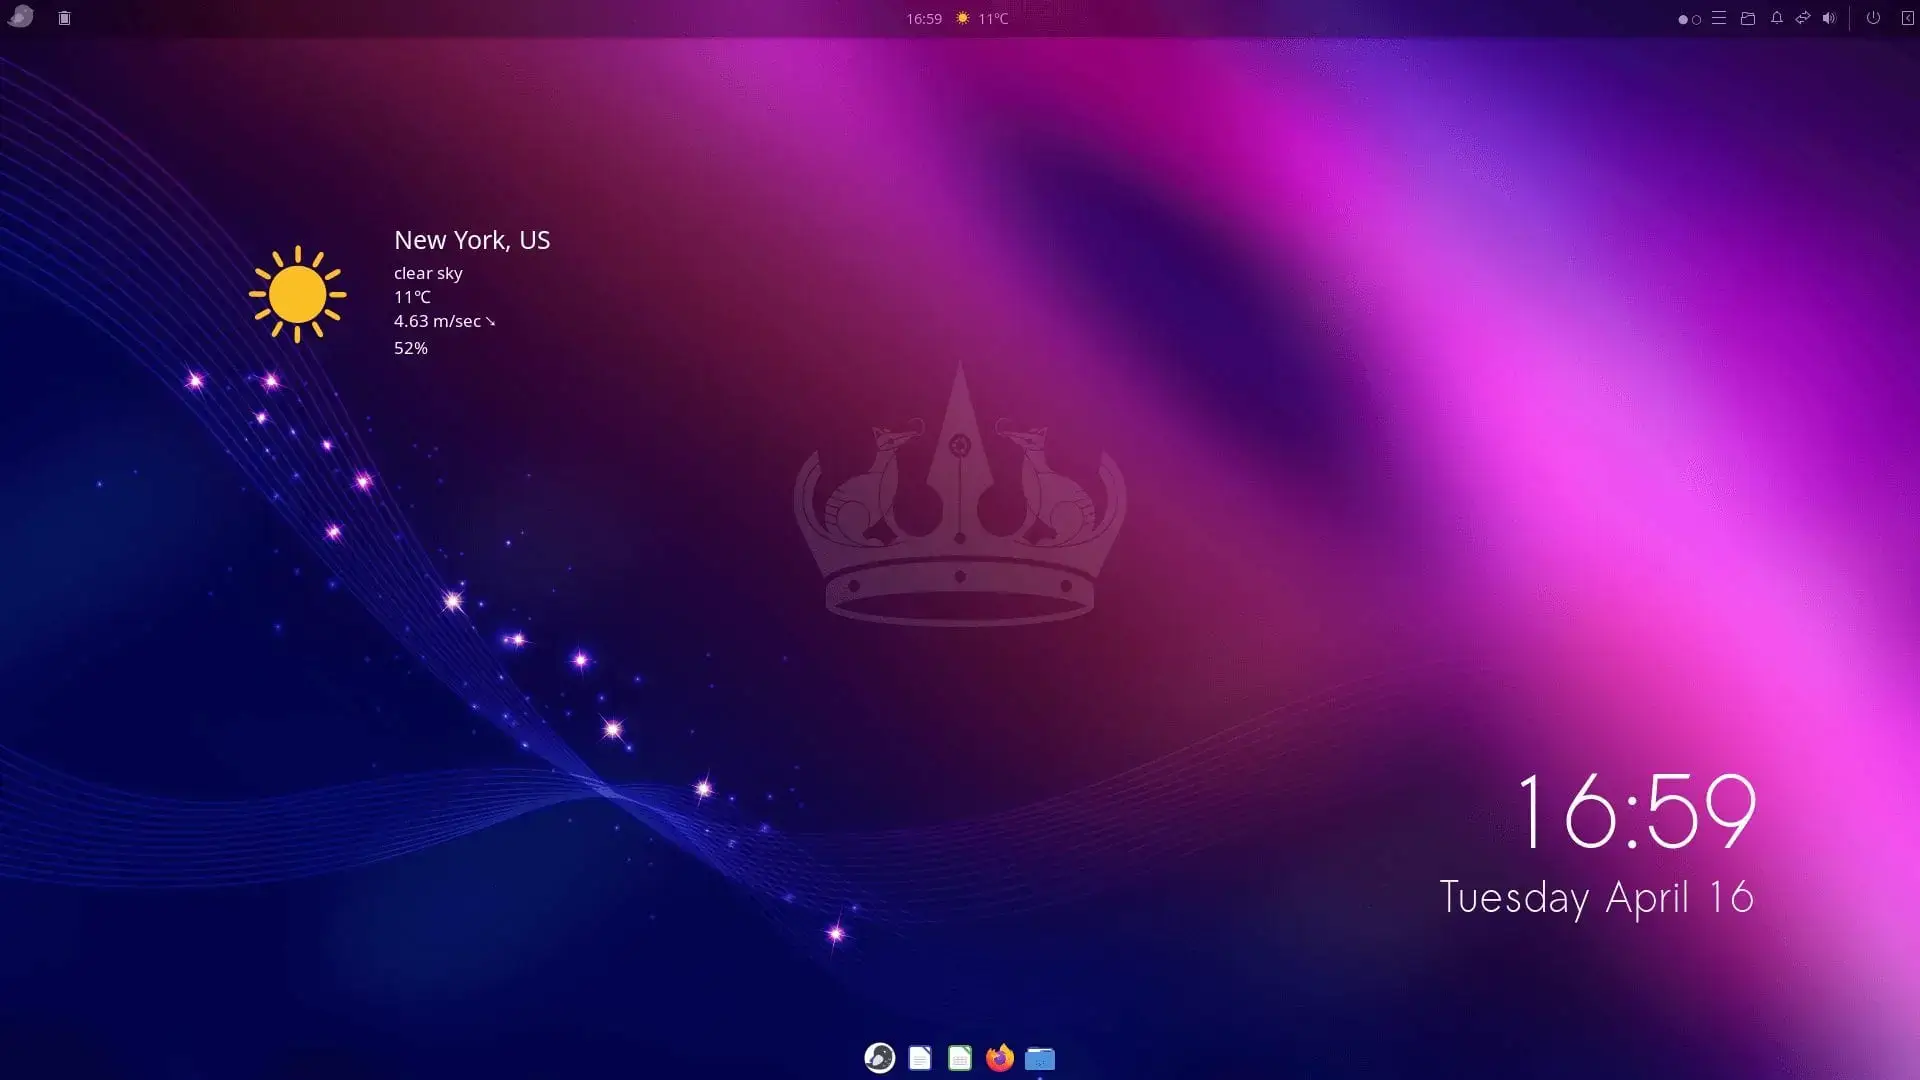
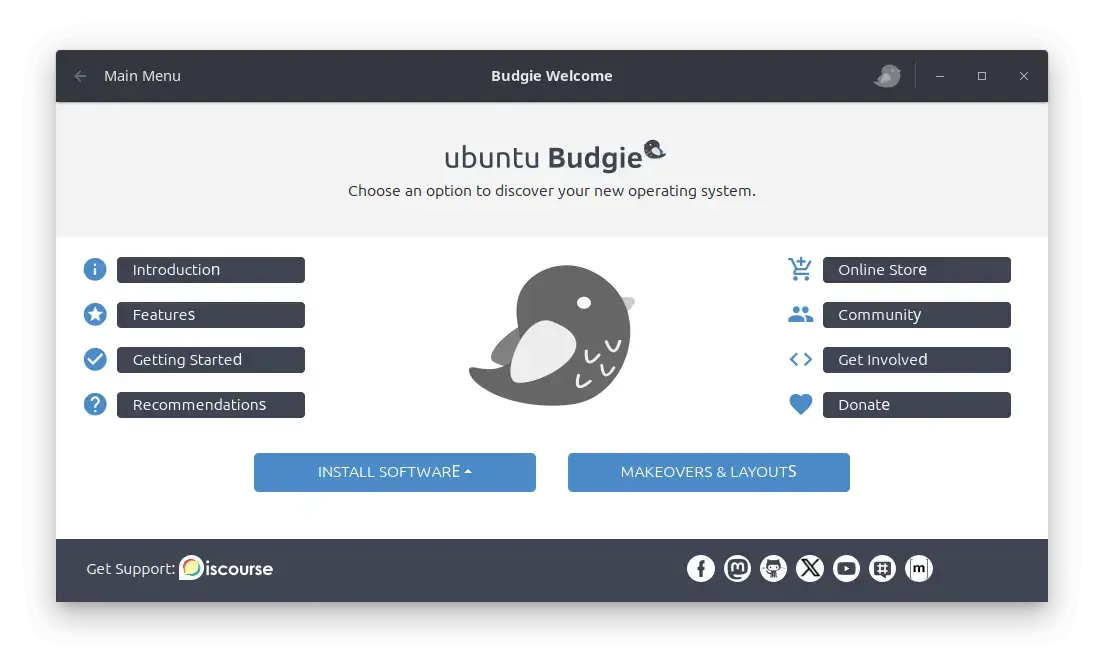
Ubuntu Budgie 24.04 LTS in Action: Screenshots


Already on an Older Version? Upgrade Instead
Running Ubuntu Budgie 22.04 LTS or 23.10? You can upgrade directly. Follow our step-by-step guide: How to Upgrade to Ubuntu Budgie 24.04 LTS.
Ubuntu Budgie Resources
Need Help?
Questions about downloading or installing Ubuntu Budgie 24.04 LTS? Leave a comment below or contact us, we’re here to help.