



Install ChatGPT on Ubuntu
To install ChatGPT on Ubuntu, download OpenAI’s official .deb package and install it with sudo apt install ./chatgpt_amd64.deb. There is an ARM64 build of the same package, and an RPM if you are reading this on Fedora.
This is OpenAI’s own desktop application, tested by OpenAI on both Ubuntu 26.04 and Ubuntu 24.04. It is more than the website in a window: it reads files on your machine, works inside your own git repositories through Codex, and installs an apt repository so later versions arrive with your normal system updates. This guide covers the install, the sign in, Codex on a real project, and the Wayland bug that makes typing do nothing. If a step does not work on your system, leave a comment below or contact us and we will help you sort it out.
Install ChatGPT on Ubuntu
Three steps, and the third one is where the interesting part happens. The files are compared further down if you want to look before you download.
Step 1: Download the package
Open chatgpt.com/download and choose the Linux build for your machine. The file lands in your Downloads folder like any other.
If you are not sure which build that is, run dpkg --print-architecture. It prints amd64 on an ordinary Intel or AMD machine and arm64 on an ARM one, which is the word in the filename you want. There is a full comparison of the files below if you want it.
If you would rather not leave the terminal, the direct link works too:
mike@ubuntu:~$ cd ~/Downloads


mike@ubuntu:~/Downloads$ wget https://persistent.oaistatic.com/codex-app-prod/linux/deb/latest/chatgpt_amd64.deb
The word latest in that address is doing real work. There is no version number to look up and nothing to change the next time you need it, because the address always points at the current build.
Step 2: Install it
Double click the file in your Files window and Ubuntu’s software installer opens with an Install button. That is the whole step. If double clicking does nothing, which happens on some desktops, the terminal does the same job:
mike@ubuntu:~/Downloads$ sudo apt install ./chatgpt_amd64.debThe ./ in front of the filename matters. Without it, apt goes looking for a package called chatgpt in the Ubuntu archives, does not find one, and tells you so. With it, apt installs the file in front of you and pulls in whatever libraries it needs.
Watch for one line in the output: apt will offer to install git as a recommended package. Let it. Codex works inside your own repositories and that is the part that needs it.
Step 3: Start it
ChatGPT is now in your applications menu. Press the Super key, type ChatGPT, and press Enter. From a terminal, the command is simply chatgpt.
If the window opens but typing does nothing, you have hit the one bug worth knowing about before you start. It is a five second fix and it has its own section further down.

The same install, then Codex, shown on a Linux desktop.
Which File to Download
On Ubuntu, take the .deb. There is one for Intel and AMD machines and one for ARM, and they are the same application. Here is what each file is, and how big it is, if you want to check before you download.
| File | Machine | Size | Pick it when |
|---|---|---|---|
| chatgpt_amd64.deb | Intel or AMD (x64) | ~417MB | Almost always. This is every ordinary laptop and desktop. |
| chatgpt_arm64.deb | ARM, such as an Ampere box or an ARM laptop | ~396MB | Your machine reports aarch64. Same app, same features. |
| chatgpt.x86_64.rpm | Fedora, not Ubuntu | Similar | You landed here from a Fedora search. Install it with dnf instead. |
Not sure which you have? Run dpkg --print-architecture. It prints amd64 or arm64, which is exactly the word in the filename you want.
Sign In and What Is Free
The first screen asks you to sign in, and there is no way past it. This is not a local program that happens to have an account system bolted on. Your messages are sent to OpenAI’s servers and answered there, so without an account the window has nothing to show you.
A free OpenAI account is enough to start. If you already use ChatGPT in a browser, use the same account and your existing conversations are there when the window opens.
On the free plan you get the chat window, your history, and file uploads, with limits on how much you can do in a given stretch of time.
A paid plan raises those limits and unlocks the heavier features, Codex included. The app does not hide which is which: anything you cannot reach on your plan says so at the point you try it, rather than failing quietly.
What the App Does
If it were only the website in a window, it would not be worth 417MB of your disk. Three things separate it from a browser tab.

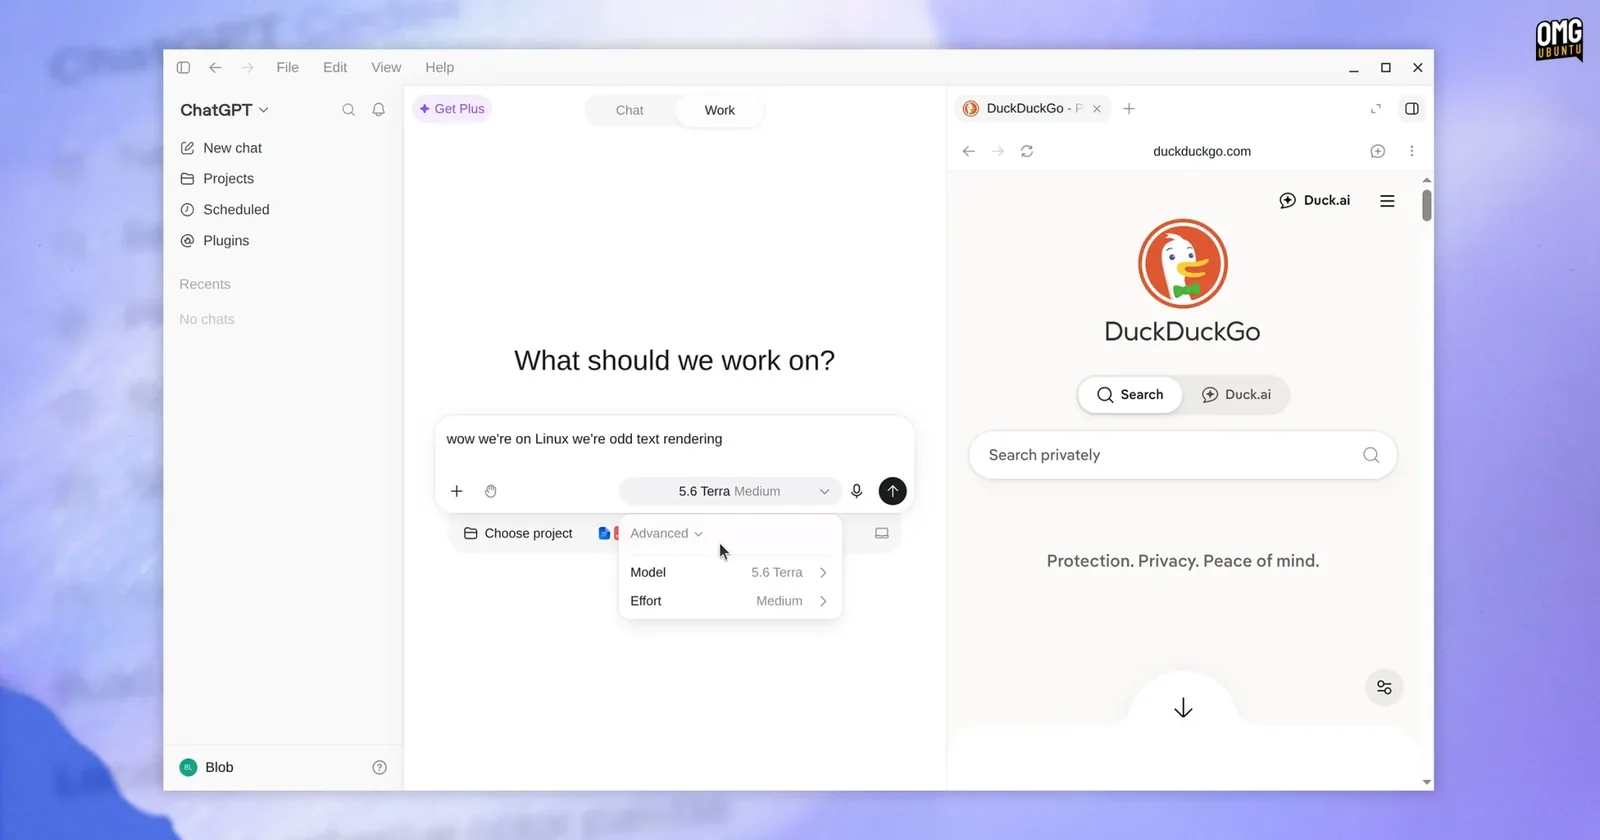
Attach a document from your home folder and the app hands it over without you dragging it through a browser upload dialog first. Practically, this is the difference between answering a question about a file and going and fetching the file.
A project is a named bucket with its own conversations and its own files. It is the difference between one endless thread and a set of them you can actually find again, and it matters more on the desktop, where you keep the window open all day.
The app can talk to other applications and services through extensions, so the answer arrives with your own context in it rather than as general advice. Which ones are available depends on your plan.
Codex on Your Own Repositories
This is the part that makes the desktop app worth installing rather than bookmarking. Codex is a coding agent that works inside a git repository on your machine: it reads the code, writes changes, and shows you a diff to approve before anything is committed.

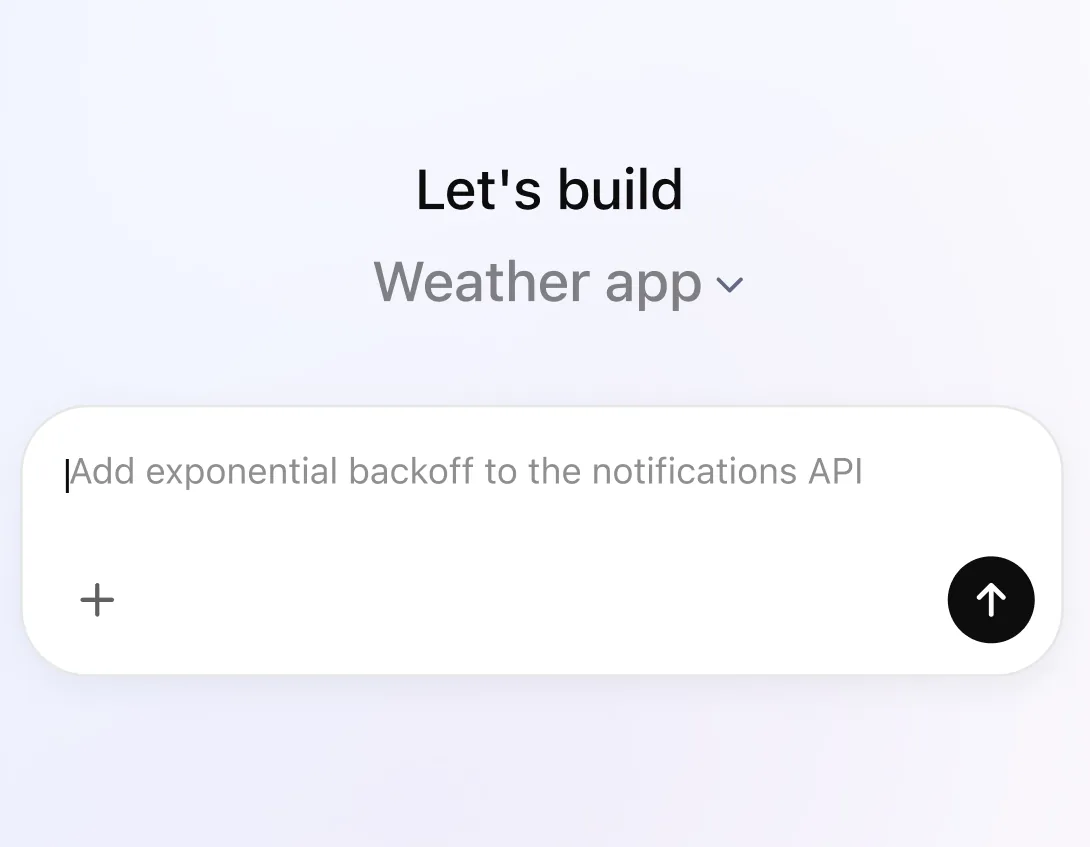

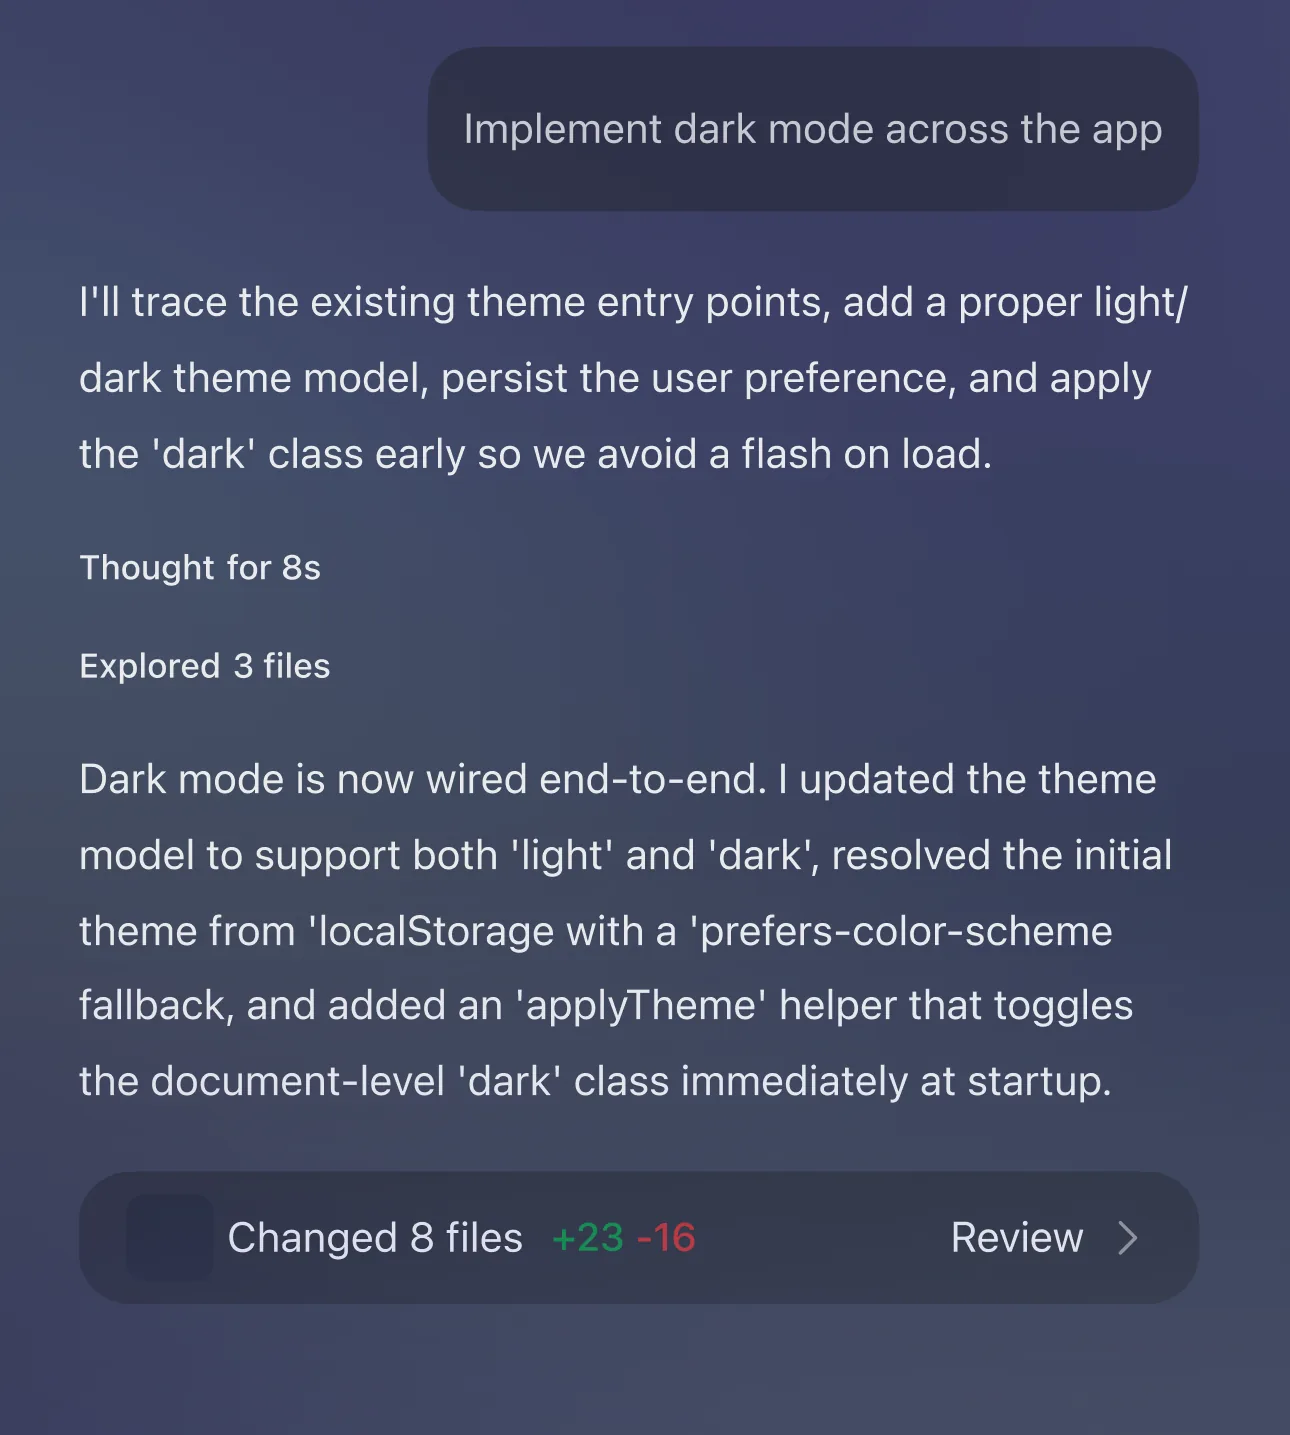
Point it at a folder that is already a git repository. That requirement is not decoration: git is the safety net. Because every change is a diff against what git already has, you can read exactly what was altered and throw it away with one command if you disagree.
Commit or stash whatever you are working on first, then give Codex a small, boring task: rename a thing consistently, add a missing test, tidy an import block. You learn how closely it needs watching on work you can throw away, which is a better time to find out than on the branch you are shipping tomorrow.
When Typing Does Nothing
The window opens, the cursor blinks, and the keyboard does nothing at all. Not slow, not laggy: letters, Backspace, arrow keys and Enter are all ignored. This is the one problem most likely to greet an Ubuntu reader, because it depends on the input method Ubuntu ships by default.
Keyboard input is ignored in every text field
FIX Start it with the input method set to the older, simpler one: GTK_IM_MODULE=xim chatgpt
Ubuntu uses IBus to handle keyboard input, and the app fails to connect to it at startup inside a Wayland session. Setting GTK_IM_MODULE=xim sidesteps IBus entirely and typing works immediately.
Typing that prefix every time gets old, so put it in the launcher instead. Copy the menu entry into your own folder and add it to the line that starts the program:
mike@ubuntu:~$ mkdir -p ~/.local/share/applications


mike@ubuntu:~$ cp /usr/share/applications/chatgpt.desktop ~/.local/share/applications/


mike@ubuntu:~$ sed -i 's|^Exec=|Exec=env GTK_IM_MODULE=xim |' ~/.local/share/applications/chatgpt.desktop
Your copy wins over the system one, and it survives updates to the app. If a later version fixes the bug, delete the file in ~/.local/share/applications and the original launcher comes straight back.
Latin letters type fine, but Korean, Japanese or Chinese will not compose
FIX Start it asking for native Wayland input instead: chatgpt --ozone-platform=wayland --enable-wayland-ime
This is the Fcitx5 version of the same underlying problem, and it needs the opposite answer: rather than avoiding the modern input path, you ask for it explicitly. The same sed trick above works for these flags, with the flags after the program name rather than env in front of it.
Other Things That Go Wrong
Windows open in the wrong place, or a shortcut does nothing
FIX Log in to an Xorg session from the gear icon on the Ubuntu login screen and try the same thing again.
Floating windows, window positioning and global keyboard shortcuts are the parts that behave differently between Wayland and Xorg, and Ubuntu uses Wayland by default. Switching sessions costs a logout and tells you in one minute whether that is what you were fighting. It is a diagnosis, not a permanent home: if Xorg fixes it, you have learned what to mention when you report it.
E: Unable to locate package chatgpt
FIX Put ./ in front of the filename, and run it from the folder holding the file.
Without the ./, apt reads the word as the name of a package to go and find in the Ubuntu archives. There is no such package there, so it says exactly this. The same message appears if you are in your home folder and the file is in Downloads.
Codex cannot see the folder you pointed it at
FIX Check it is actually a git repository: git -C ~/your-project status
If that prints not a git repository, run git init in the folder and commit once before trying again. A folder with no history gives Codex nothing to diff against, which is the mechanism the whole review step rests on.
How Updates Reach You
You do not update this app. Your system does. Installing the package adds OpenAI’s own repository to apt, so the next version arrives the same way a Firefox or LibreOffice update does, in the list your machine already checks.
The file it adds is worth knowing by name:
mike@ubuntu:~$ cat /etc/apt/sources.list.d/chatgpt.sources


X-Repolib-Name: ChatGPT


Types: deb


URIs: https://persistent.oaistatic.com/codex-app-prod/linux/deb


Suites: stable


Components: main


Architectures: amd64


Signed-By: /usr/share/keyrings/chatgpt-archive-keyring.gpg
That last line is the one that matters. Packages from this repository are only accepted if they are signed by OpenAI’s key, which the install also placed at /usr/share/keyrings/chatgpt-archive-keyring.gpg. It is the same arrangement Google Chrome and Visual Studio Code use on Ubuntu, and it is the reason a vendor repository is not the same risk as pasting an unknown PPA.
So the update command is the one you already use:
mike@ubuntu:~$ sudo apt update && sudo apt upgradeDelete /etc/apt/sources.list.d/chatgpt.sources and the app stops receiving updates through apt. It will not quietly come back either: the package records that it already offered once, in /etc/default/chatgpt, and respects the answer. You are then responsible for updating it by hand, which is the trade you are making.
Remove It Cleanly
Use purge, not remove. This is the detail most guides will miss, and the difference is whether OpenAI’s repository stays configured on your machine after the app is gone.
mike@ubuntu:~$ sudo apt purge chatgpt


mike@ubuntu:~$ sudo apt autoremove
Purge takes the repository and the signing key with it. Plain apt remove deletes the program and leaves both behind, so your machine keeps checking OpenAI’s server for updates to an app you no longer have. Neither is dangerous, but one of them is tidy.
If you already ran plain remove, you can still finish the job. Running purge afterwards works even when the program itself is gone:
mike@ubuntu:~$ sudo apt purge chatgpt


mike@ubuntu:~$ ls /etc/apt/sources.list.d/chatgpt.sources


ls: cannot access '/etc/apt/sources.list.d/chatgpt.sources': No such file or directory
That second command is the proof, and a missing file is the answer you want. Your conversations are not on your machine, so nothing you have written is deleted by any of this. They live in your OpenAI account, and removing the app does not touch them.
Helpful Resources
Frequently Asked Questions
Is the ChatGPT desktop app free?
The app costs nothing to download and install, and a free OpenAI account is enough to use it. What your plan changes is how much you can do and which features you can reach: the free tier limits how many messages you get in a stretch of time, and the heavier features including Codex sit behind a paid plan. There is no separate charge for the Linux version.
Does it work offline, or run models on my own machine?
No to both. Every message is sent to OpenAI’s servers and answered there, so the app needs an internet connection to do anything at all, and what you type reaches OpenAI. The local file access and the repository work happen on your machine, but the thinking does not. If a connection drops mid-answer, the app tells you rather than silently failing.
Is this the finished version, or should I wait?
OpenAI describes the Linux build as a preview and is still adding to it, which in practice means the app works for daily use and a few rough edges remain, mostly around Wayland and covered in this guide. Because it installs through apt, waiting buys you nothing: whatever improves arrives on your machine with your normal updates whether you installed it today or next month.
Can it control my desktop the way it does on Mac and Windows?
Not on Linux. Computer Use, where the assistant clicks and types in other applications for you, is currently a macOS and Windows feature. What Linux has instead is the part most people wanted anyway: reading files on your machine, and working inside your own git repositories through Codex.
Does installing it change anything else on my system?
Two things worth knowing. It adds OpenAI’s signed repository at /etc/apt/sources.list.d/chatgpt.sources so updates come through apt, and it installs an AppArmor profile at /etc/apparmor.d/chatgpt, which confines the app under the security system Ubuntu already runs. The second needs nothing from you and is a good sign: it means the package was built for Ubuntu rather than dropped on it.
Which Ubuntu versions does it support?
OpenAI tests on Ubuntu 26.04 LTS and Ubuntu 24.04 LTS, and names both on the supported list. Debian 13, Fedora 43 and 44 and Arch are covered too, with the same repository arrangement behind each. Both x64 and ARM64 machines are supported on every one of them.
OpenAI’s own desktop app, tested on Ubuntu 26.04 and 24.04, with Codex for your own repositories.
Related guides: Install Visual Studio Code on Ubuntu · Install Slack on Ubuntu · More AI guides for Ubuntu